Soda, Frosting, Honeycomb and Jam: what each mode actually asks for
The publisher lists four puzzle modes for Candy Crush Soda Saga, and each one changes what a "good move" means. Playing every level the same way is the most common reason a board feels impossible: the move that maximises score in one mode can actively work against you in another. Below is what each mode asks for, in the publisher's own terms, and how to open a level in each.
Soda
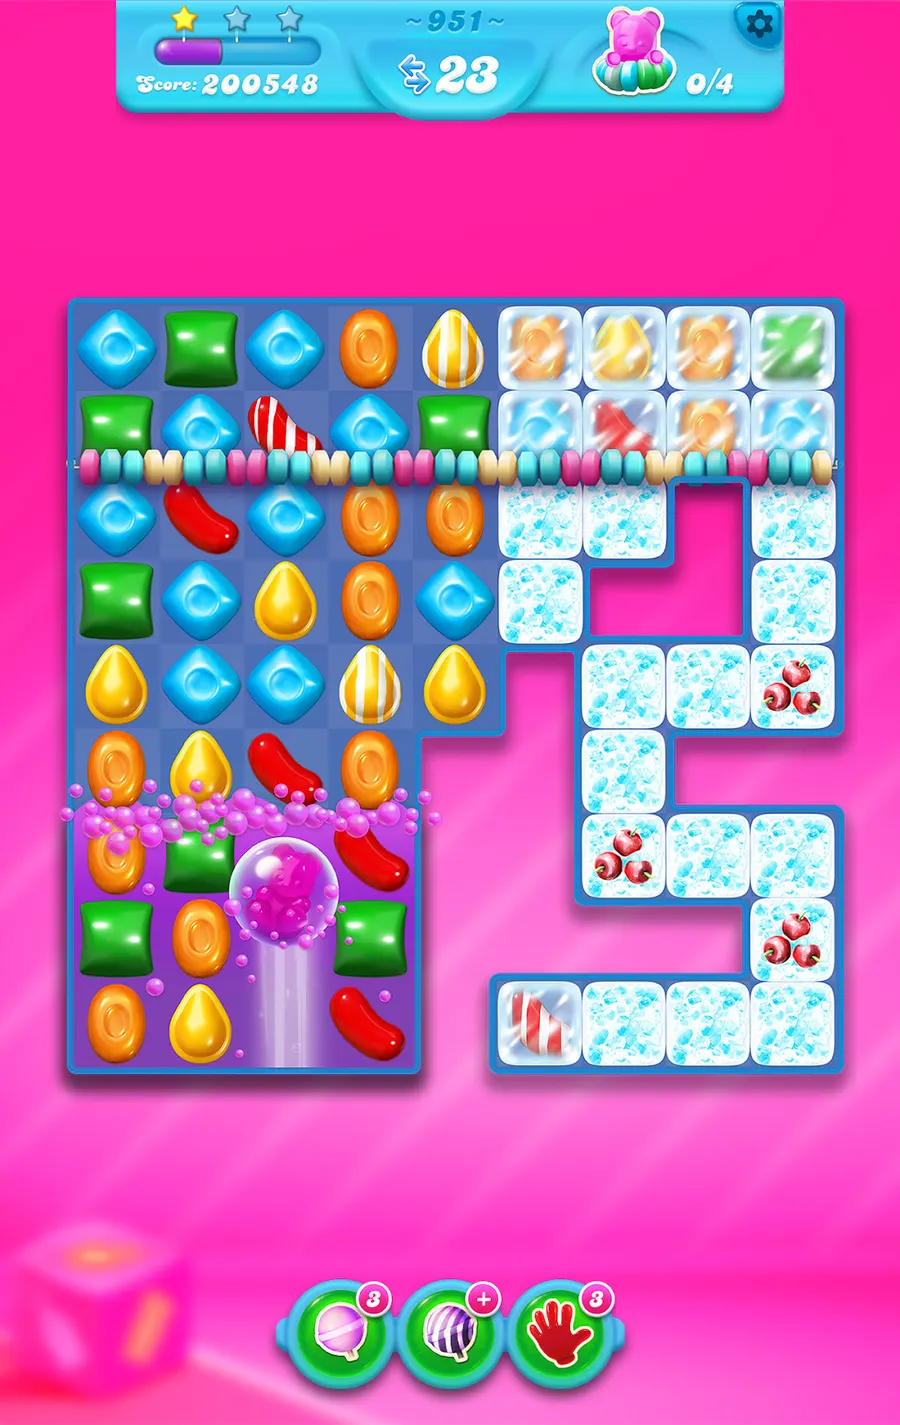
Swapping bottles and matching candies releases purple soda, which fills the board from the bottom. The mode is unusual because the rising liquid changes the geometry mid-level: candies float, and areas that were unreachable become reachable.
- Match near bottles early — the release, not the match, is what advances the level.
- Remember that the playable area moves upward as soda rises; a plan made for the first ten moves may be obsolete by the twentieth.
- Vertical striped candies are strong here because they open whole columns for the liquid.
Frosting
Ice covers the board and has to be broken by matching candies against it. This is a demolition mode: the goal bar counts frosting removed, not candies cleared.
- Work at the edge of the frosted area rather than in the open space next to it.
- Wrapped candies are excellent because their double detonation hits the same cluster twice.
- Thick frosting takes more than one hit; do not assume a tile is finished because it changed appearance.
Honeycomb
Candy Bears are trapped inside honeycomb, and matching next to the honeycomb releases them. The counter tracks freed bears.
- Ignore honeycomb that does not contain a bear you still need; clearing it wastes moves.
- Plan approach lines: each bear needs a match adjacent to its cell, so ask which colour can realistically reach that column.
- A Candy Fish is often the cleanest answer to one stubborn bear in a corner.
Jam
Jam has to be spread across the board. Every match on a jam tile pushes jam outward into neighbouring tiles, so the level is about coverage rather than removal.
- Move outward from the jam, not into it — matches made far from the jam contribute nothing.
- Corners are the usual failure point. Reserve at least one strong special for the last unreached corner.
- Horizontal clears tend to spread jam more evenly than vertical ones on wide boards.
One rule that applies to all four
Read the objective panel before the board. Players who lose levels with moves left over almost always spent the first third of the level playing for score, then discovered what the level actually wanted. Thirty seconds of reading is worth more than any single special candy.