Every special candy in Candy Crush Soda Saga and the shape that builds it
Most levels that feel unfair are levels where the board was never given a chance to build a special candy. Ordinary three-candy matches clear three tiles and nothing else; the cascade only starts doing work for you once a match is four candies or larger. This guide lists what each larger match produces, what it clears when it goes off, and which two-special combinations justify spending a move to set them up.
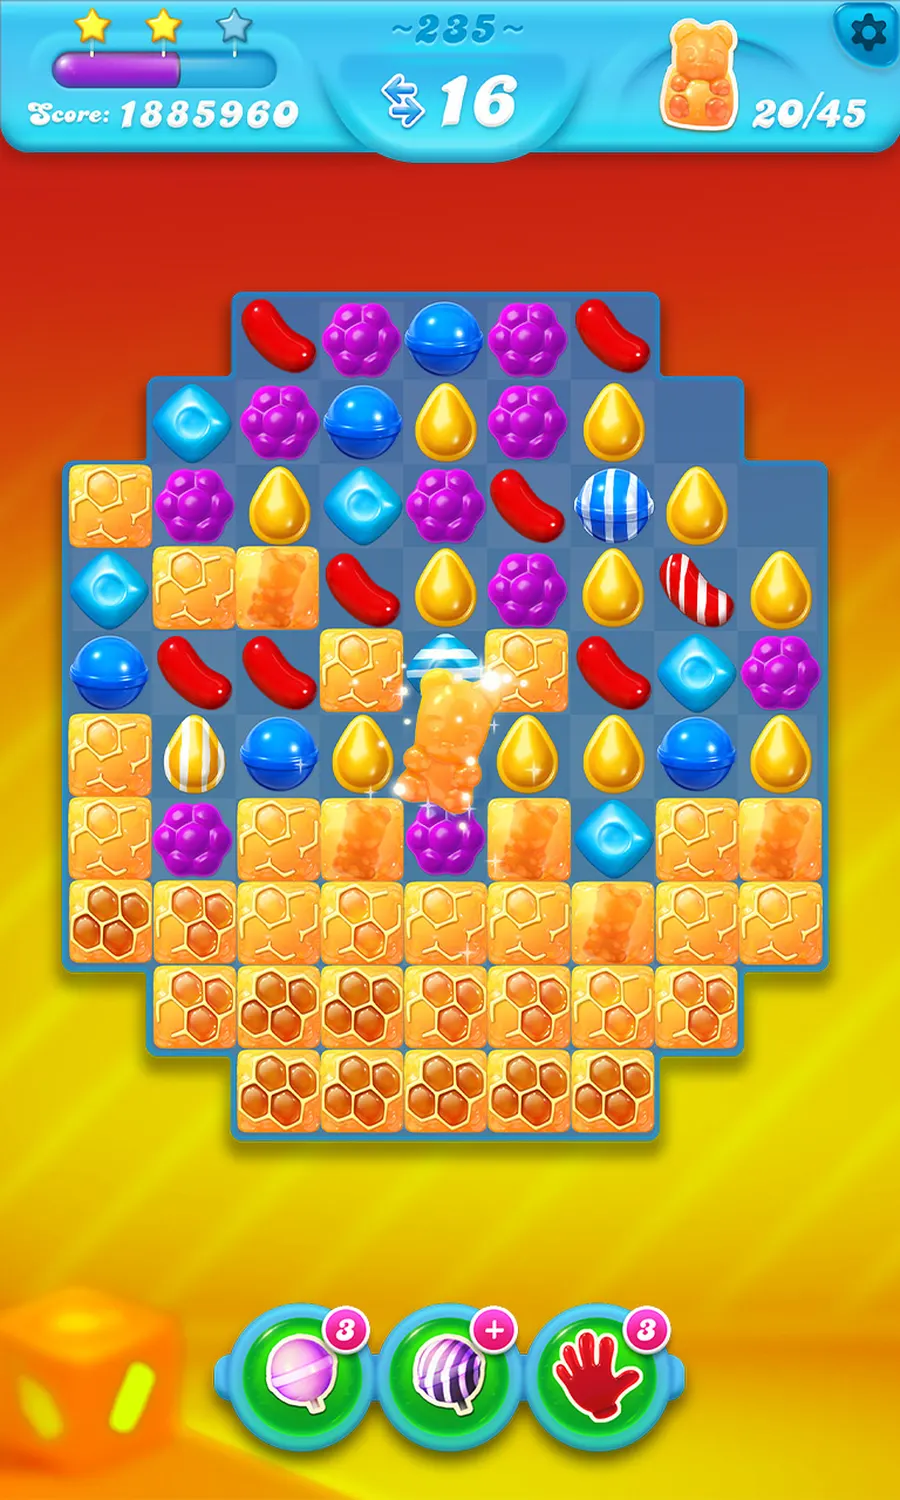
The formation table
Read the shape column as the arrangement of same-coloured candies at the moment the match completes — not the arrangement before you swap.
| Special candy | Shape that creates it | What it does |
|---|---|---|
| Candy Fish | Four of one colour in a 2×2 square | Swims to a single target and clears it; on many levels it prioritises objectives such as bottles or blockers |
| Striped candy | Four of one colour in a straight row or column | Clears the full row or column, following the direction of the stripes |
| Wrapped candy | Five or six of one colour in a T or L shape | Explodes across the surrounding tiles, then detonates a second time |
| Colour Bomb | Five of one colour in a straight line | Removes every candy of the colour it is swapped with |
| Colouring Candy | A larger T-shaped match; King's store listing describes it as a seven-candy match | Repaints candies of one colour into its own colour, which sets up a much bigger follow-up match |
Why the square matters more than it looks
The 2×2 square is the cheapest special in the game to build, because it needs only four candies and no straight line. On objective levels the Candy Fish is often better value than a striped candy: a striped candy clears a whole line whether or not anything useful is in it, while the fish travels to a target. If a level asks you to free bears or clear a small number of awkward tiles in a corner, two fish are usually worth more than one long clear.
Combinations worth a move
Two specials placed side by side can be swapped into each other. The result is stronger than setting both off separately, so it is often correct to spend one move repositioning rather than firing them immediately.
- Striped + Striped — clears a full row and a full column at once, centred on the swap. Useful when an objective sits at an intersection.
- Striped + Wrapped — clears a wide band across the board rather than a single line. The most reliable way to open a board that has stopped producing matches.
- Wrapped + Wrapped — a much larger double explosion around the swap point; best used against clustered blockers rather than scattered ones.
- Colour Bomb + Striped — turns every candy of that colour into a striped candy and sets all of them off. This is the single biggest board clear available to most players.
- Colour Bomb + Colour Bomb — clears the board very broadly, but it is rarely worth holding two bombs for the chance; take the first useful combination instead.
Common mistakes
- Firing specials as soon as they appear. If nothing on the objective bar changes when you use it, you have spent a move for score only.
- Building lines where there are no blockers. A striped candy pointed at empty space does very little; check which direction the stripes will run before you swap.
- Ignoring the top of the board. Matches high up look productive because they look busy, but the refill comes from above and undoes most of the pattern you were reading.
- Saving a Colour Bomb too long. The board reshuffles constantly. A good combination now beats a perfect combination three moves from now.
How to practise this
Pick a level you have already cleared and replay it with one rule: no ordinary three-match unless there is no four-match available anywhere on the board. It slows you down at first, but after a few rounds you start seeing the square and T shapes without hunting for them, which is the whole skill.